The Soundstream Tarantula 500W amplifier is a popular choice for car audio enthusiasts looking to enhance their sound systems. This comprehensive guide provides an ultimate review of the Soundstream Tarantula 500W amplifier, exploring its features, performance, and providing essential installation and troubleshooting tips. Whether you’re a seasoned audiophile or a beginner, this review will help you understand everything you need to know about this powerful amplifier. We delve into its specifications, installation process, common issues and provide a comparison with competitors. This guide is designed to give you an informed overview, helping you determine if the Soundstream Tarantula 500W is the right amplifier for your car audio needs.
Understanding the Soundstream Tarantula 500W Amplifier
The Soundstream Tarantula 500W amplifier is engineered to deliver robust and clear audio performance, making it a key component for any high-quality car audio setup. Its design focuses on efficiency and power, ensuring it can drive a variety of speakers and subwoofers with precision. Understanding its core functions and capabilities is the first step in maximizing its potential. This amplifier is typically a multi-channel design, allowing for flexible configurations to suit different audio system requirements. It is built with high-quality components to ensure durability and reliability, even under demanding conditions. Furthermore, the Tarantula series often includes features that protect the amplifier and connected components from damage, such as short-circuit, thermal, and overload protection.
Soundstream Tarantula 500W Power Ratings & Specifications
Understanding the power ratings and specifications of the Soundstream Tarantula 500W is crucial for determining its compatibility with your speakers and overall audio system. These specifications provide insight into the amplifier’s capabilities and limitations, ensuring optimal performance and preventing damage. Always consult the amplifier’s manual for detailed specifications. Key specifications include RMS power, peak power, number of channels, frequency response, total harmonic distortion (THD), and signal-to-noise ratio (SNR). These figures offer a comprehensive picture of the amplifier’s power delivery, audio quality, and efficiency. Comparing these specifications with those of your speakers and other components ensures a balanced and well-performing system.
RMS Power Explained

RMS (Root Mean Square) power is the continuous power the amplifier can deliver to the speakers over a sustained period without causing damage or distortion. This is the most important figure to consider when matching an amplifier to your speakers. The Soundstream Tarantula 500W amplifier will have specific RMS power ratings listed for different channel configurations. For instance, it might provide a certain RMS wattage per channel at 4 ohms and a different wattage at 2 ohms. It is critical that the RMS power rating of the amplifier matches or slightly exceeds the RMS power handling of your speakers. Using an amplifier that delivers significantly more RMS power than your speakers can handle may lead to damage. (image RMS-power-explained.webp)
Peak Power Defined
Peak power is the maximum amount of power the amplifier can deliver in short bursts. This is usually a higher number than the RMS power, but it is not as critical for long-term performance. Peak power specifications are useful for understanding the amplifier’s capacity to handle transient audio signals, such as drum hits or other dynamic sounds. While peak power is important, RMS power remains the primary factor in determining the amplifier’s overall suitability for your system. Relying solely on peak power figures to evaluate an amplifier can be misleading. Focus on the RMS power ratings to ensure a safe and high-quality listening experience. Pay attention to how the peak power relates to the RMS power; a large discrepancy might indicate a less efficient design. (image peak-power-defined.webp)
Key Features of the Soundstream Tarantula 500W
The Soundstream Tarantula 500W amplifier boasts several key features that contribute to its performance and user-friendliness. These features are designed to enhance the audio experience and provide protection for the amplifier and the connected components. Knowing these features helps in making an informed decision and understanding how to best utilize the amplifier. Key features include built-in crossovers, adjustable gain controls, protection circuitry, and various connectivity options. These components work together to ensure a smooth and efficient audio signal amplification, offering a variety of functions such as filtering frequencies, managing output levels, and safeguarding the system against potential issues. The Soundstream Tarantula 500W is designed to offer an enhanced audio experience to all users, from beginners to experienced audiophiles.
Amplifier Design and Technology

The design and technology of the Soundstream Tarantula 500W amplifier play a crucial role in its performance and efficiency. Modern amplifiers utilize Class AB or Class D designs, each with its own advantages. Class AB amplifiers offer a balance between sound quality and efficiency, whereas Class D amplifiers are known for their high efficiency and compact size, making them ideal for car audio applications. High-quality components are used internally to minimize distortion and noise, which results in a cleaner and more accurate sound reproduction. The design often includes advanced heat dissipation systems, such as heat sinks, to prevent overheating and maintain optimal performance under heavy use. The strategic layout of internal components also helps in reducing signal interference and enhancing overall audio quality. (image soundstream-tarantula-500w-amplifier.webp)
Connectivity and Inputs
The connectivity options and inputs of the Soundstream Tarantula 500W amplifier determine how easily it can integrate with your existing car audio system. The amplifier will typically feature RCA inputs for connecting to the head unit’s pre-amp outputs, allowing for a direct and clean signal transmission. High-level inputs might be available for connecting to the speaker outputs of a head unit that lacks RCA outputs. Speaker wire terminals are provided for connecting the amplifier to your speakers and subwoofers. Many models include adjustable crossover filters, allowing you to fine-tune the frequencies sent to your speakers and subwoofers. Ensuring that the amplifier has all the necessary inputs and outputs is crucial for a seamless and easy setup. Understanding how each connection functions helps in achieving the desired audio quality and system configuration.
Installation Guide for Soundstream Tarantula 500W
Proper installation is crucial for the Soundstream Tarantula 500W amplifier’s performance and longevity. It is essential to follow a systematic approach to ensure the amplifier functions safely and efficiently. The installation process involves several key steps, including selecting the mounting location, connecting the power and ground wires, connecting the remote wire, connecting the audio inputs, and connecting the speaker wires. Before beginning, gather all necessary tools and components, including wire strippers, crimpers, fuses, and appropriate gauge wiring. Always disconnect the car battery’s negative terminal before starting any electrical work to prevent short circuits and potential damage. Following these steps ensures a professional, safe, and high-quality installation process. (image soundstream-tarantula-500w-installation.webp)
Wiring Diagrams and Best Practices
Using the correct wiring diagrams and following best practices is critical for a successful and safe installation of the Soundstream Tarantula 500W amplifier. The wiring diagram provides detailed instructions on how to connect the power, ground, remote, and speaker wires. Start by routing the power and ground wires from the battery to the amplifier location. Use the recommended gauge of wire, usually 4 or 8 gauge, depending on the amplifier’s power requirements. The ground wire should be securely connected to a clean metal surface on the vehicle’s chassis. Connect the remote wire to the head unit’s remote output, which turns the amplifier on and off with the car’s ignition. Ensure that all connections are tight and secure to prevent loose wires. Following the wiring diagram accurately prevents potential issues. (image soundstream-tarantula-500w-wiring.webp)
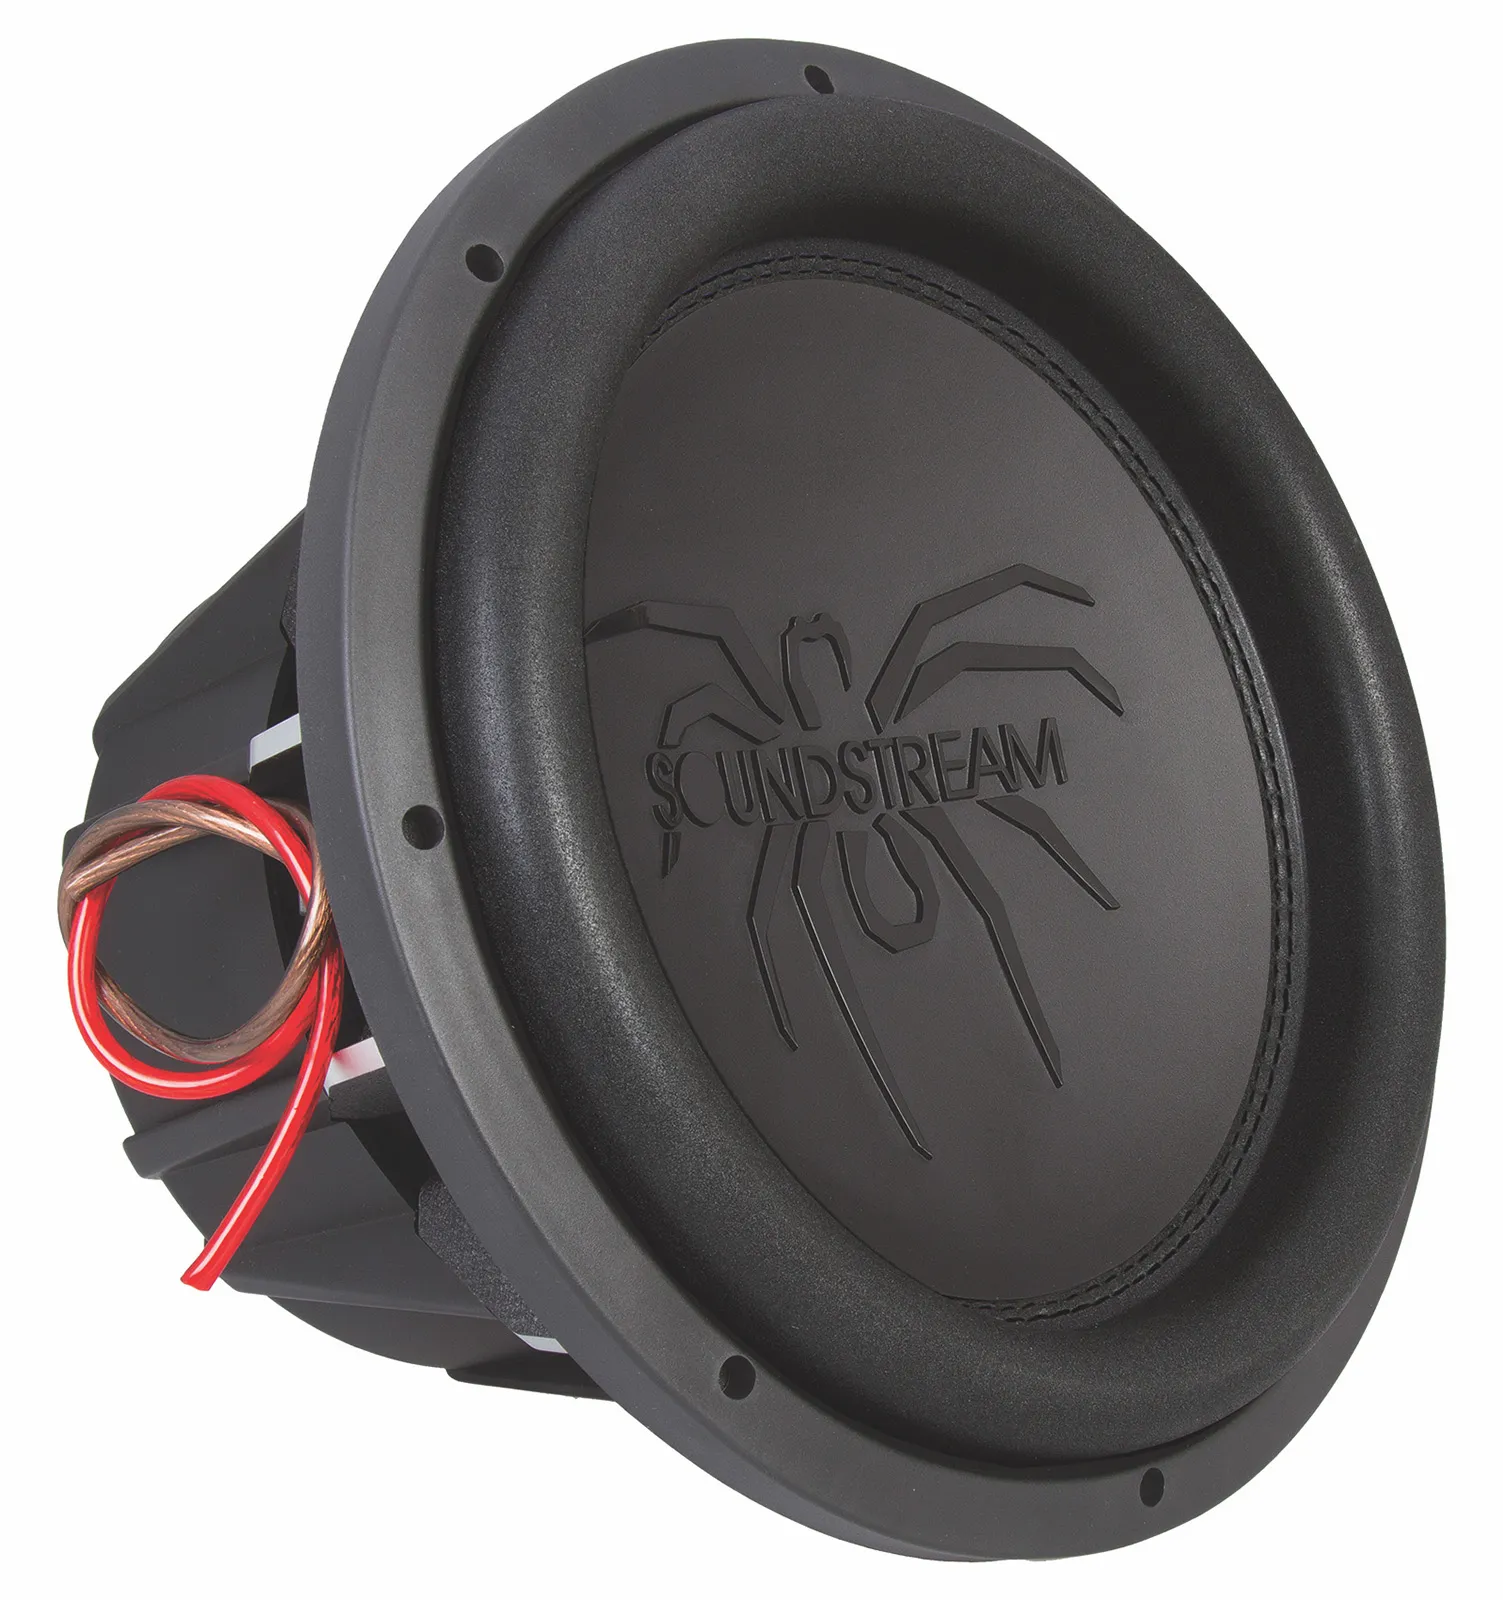
Choosing the Right Speakers & Subwoofers
Selecting the right speakers and subwoofers is important to get the best performance from your Soundstream Tarantula 500W amplifier. Consider the impedance, power handling, and sensitivity of the speakers and subwoofers. Make sure the impedance of the speakers matches the amplifier’s output impedance. Overloading your amp or damaging the speakers can easily occur if you don’t pay attention to these factors. The RMS power of your speakers should match the amplifier’s RMS power, or slightly below to avoid damage. Sensitivity determines how loud the speakers will play given a certain amount of power, and a higher sensitivity rating means the speakers will play louder with less power. When choosing a subwoofer, consider its size, enclosure type, and power handling capabilities. Select speakers and subwoofers that match the amplifier’s capabilities and your preferred listening style for optimal sound quality. (image soundstream-tarantula-500w-setup.webp)
Setting Up Your Soundstream Tarantula 500W
Setting up the Soundstream Tarantula 500W amplifier involves adjusting gain and crossover settings to optimize sound quality. The gain control adjusts the input sensitivity of the amplifier, and it should be set to match the output voltage of your head unit. Start with the gain at a low setting and increase it gradually while listening for distortion. The crossover filters allow you to limit the frequency range sent to your speakers and subwoofers. A low-pass filter for subwoofers prevents higher frequencies from reaching them, while a high-pass filter for speakers removes low frequencies. This allows you to fine-tune the audio output to your specific preferences and equipment. Proper setup ensures that the amplifier is working efficiently, producing clear and balanced sound. Using these steps ensures your system is set up correctly. (image soundstream-tarantula-500w-setup.webp)
Gain and Crossover Adjustments

Adjusting the gain and crossover settings on the Soundstream Tarantula 500W amplifier is crucial for achieving optimal sound quality. The gain control, sometimes referred to as the input level, matches the amplifier’s input sensitivity to the output voltage of your head unit. Setting the gain too high can cause distortion, whereas setting it too low can result in a weak signal. Start with the gain at the minimum setting and gradually increase it while playing music until you hear distortion. Then, back off slightly. The crossover filters shape the frequency response of the amplifier. Low-pass filters are typically used for subwoofers, allowing low frequencies to pass through while blocking higher frequencies. High-pass filters are used for speakers to prevent them from playing low frequencies that they cannot handle efficiently. Adjust the crossover frequency to match the capabilities of your speakers and subwoofers for the best possible sound. (image gain-crossover-adjustments.webp)
Troubleshooting Common Issues
Troubleshooting common issues with the Soundstream Tarantula 500W amplifier can help you identify and resolve problems quickly. Common issues include no power or sound, distortion, and sound quality problems. Taking a systematic approach to troubleshoot these issues saves time and ensures that you identify the root cause. First, check the power and ground connections to ensure they are secure and properly connected. Verify that the fuse is intact and that the remote wire is connected correctly. If there is no sound, check the speaker wire connections, audio input connections, and gain settings. By systematically testing the connections and settings, you can usually pinpoint the source of the issue and implement a solution. (image soundstream-tarantula-500w-troubleshooting.webp)
No Power or Sound Problems
If the Soundstream Tarantula 500W amplifier does not power on, or if there is no sound, begin by checking the power and ground connections. Make sure that the power wire is securely connected to the battery, and the ground wire is connected to a clean metal surface. Verify that the fuse is not blown and that the remote wire is connected to the head unit’s remote output. The head unit’s remote output sends a signal to the amplifier to turn it on and off. Use a multimeter to check for voltage at the power and remote terminals. If the amplifier still does not power on, there may be an internal fault, and you should consult a professional for further diagnosis. Check speaker wire connections and audio input connections for a missing sound. If all connections are secure, examine the gain settings to ensure they are not set too low. If you have thoroughly checked all connections and settings and the amplifier still does not function, it may require professional servicing.
Distortion and Sound Quality Issues

If you experience distortion or poor sound quality with the Soundstream Tarantula 500W amplifier, several factors could be contributing to the problem. Distortion can be caused by an amplifier that is underpowered for the speakers, which is common. Check the gain settings; if the gain is set too high, it can cause the amplifier to clip, resulting in distortion. Additionally, check the crossover settings to ensure that the frequency range is appropriate for your speakers and subwoofers. A poor ground connection can also introduce noise and distortion into the audio signal. Make sure that the ground wire is securely connected to a clean metal surface, and all the connections are tight. Inspect the speaker wires for any shorts or damage. If distortion persists, consider a different type of amplifier or seek professional help.
Soundstream Tarantula 500W Performance Comparison
Comparing the Soundstream Tarantula 500W amplifier with other amplifiers in its class can provide valuable insights into its performance and value. Benchmarking the amplifier involves evaluating its power output, distortion levels, signal-to-noise ratio, and overall sound quality. Consider the amplifier’s specifications, build quality, and features to determine its strengths and weaknesses. Comparing the Soundstream Tarantula 500W to other similar amplifiers can help you gauge its performance. Also, consider consumer reviews and ratings from other users to gain additional perspective. These assessments help determine where the Soundstream Tarantula 500W amplifier stands in the market. They provide a full picture of what you are getting from this model and its competitors, helping you to determine if the amplifier meets your needs.
Soundstream Tarantula 500W vs. Competitors
Comparing the Soundstream Tarantula 500W amplifier with its competitors involves analyzing its key specifications, features, and overall performance. When comparing amplifiers, consider factors like RMS power, peak power, frequency response, and distortion levels. Look at the type of amplifier Class AB or Class D and the type of components used. Compare the Soundstream Tarantula 500W with similar amplifiers in terms of price, value, and warranty. Read customer reviews and compare real-world experiences to see how the amplifier performs in various setups. Also, check for any additional features such as built-in crossovers, adjustable gain controls, and protection circuits. These elements impact the overall value of the amplifier and can guide the final decision. (image soundstream-tarantula-500w-vs-competitors.webp)
User Reviews and Ratings Analysis

Analyzing user reviews and ratings offers valuable insights into the Soundstream Tarantula 500W amplifier’s performance and reliability. These reviews provide a broad perspective on user experiences, highlighting the pros and cons of the amplifier. Look for trends and common themes in the reviews, such as issues with the amplifier’s performance, build quality, or ease of installation. Positive reviews often highlight the amplifier’s power, sound quality, and value for money. Negative reviews might cite issues with reliability, distortion, or noise. Ratings give an overview of overall customer satisfaction and performance. Consider the source of the reviews and look for reviews from verified purchasers. By carefully analyzing user reviews and ratings, you can get a more realistic understanding of the Soundstream Tarantula 500W amplifier’s performance and suitability for your needs. (image soundstream-tarantula-500w-user-reviews.webp)
Final Thoughts on the Soundstream Tarantula 500W Amplifier
The Soundstream Tarantula 500W amplifier provides a blend of power, features, and value, making it a contender in the car audio market. Its ability to drive various speakers and subwoofers efficiently, when properly installed and configured, makes it ideal for many car audio upgrades. Potential buyers should carefully consider their specific audio system needs, budget, and preferences before purchasing. Reviewing all the specifications, installation requirements, and user feedback is essential for making a well-informed decision. The Soundstream Tarantula 500W amplifier offers an exciting option for car audio enthusiasts who are looking to enhance their sound systems. Considering the pros and cons will enable buyers to determine whether this amplifier is an appropriate choice.