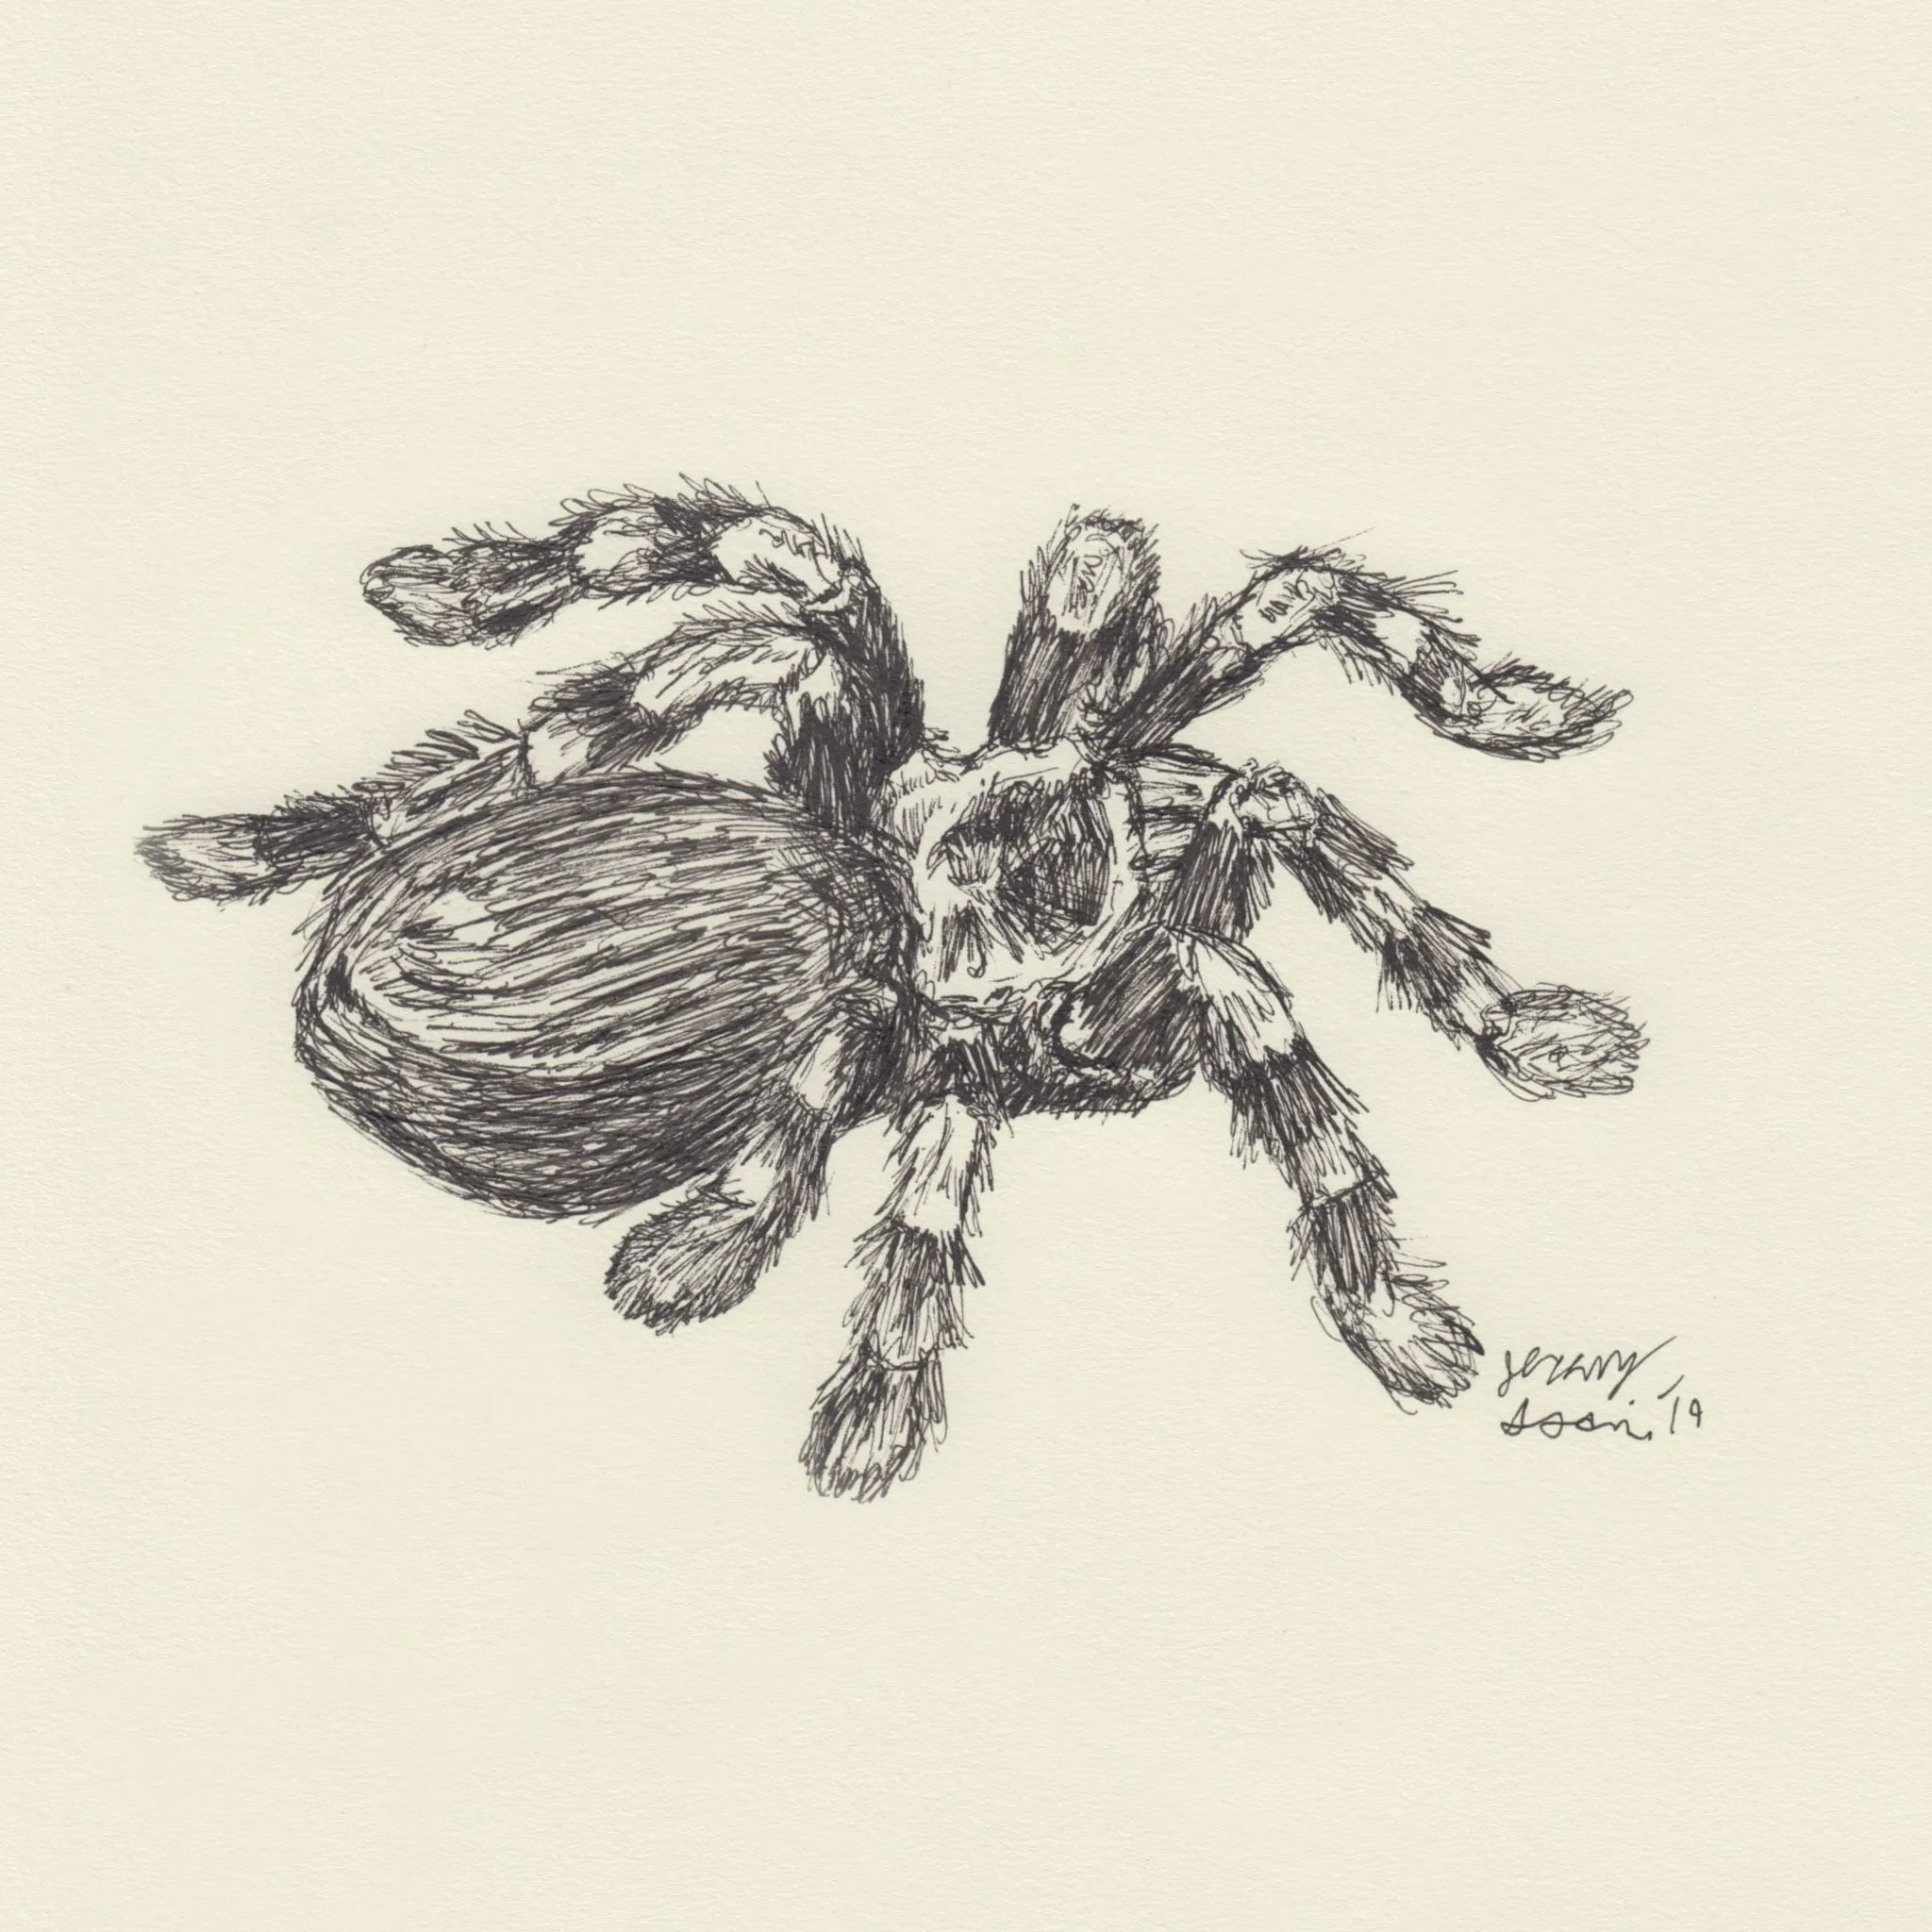
Spider Tarantula Sketch: Introduction
Embarking on a spider tarantula sketch can be a rewarding artistic journey, allowing you to capture the intricate details and unique characteristics of these fascinating creatures. Whether you’re a seasoned artist or a beginner, the process of sketching a spider tarantula can be broken down into manageable steps, each contributing to a realistic and captivating final drawing. This guide provides seven essential tips to help you create a stunning spider tarantula sketch, from understanding spider anatomy to mastering shading techniques. By following these tips, you’ll be well on your way to creating a lifelike representation of these captivating arachnids. So grab your pencils, and let’s begin this artistic adventure, transforming the blank page into a vibrant depiction of a spider tarantula. Prepare to dive into the world of lines, shadows, and textures, where your artistic skills will flourish as you bring the spider tarantula to life on paper.
Tip 1: Understanding Spider Anatomy
A solid understanding of spider anatomy is crucial for creating a believable and accurate sketch. This involves knowing the fundamental structure of the spider’s body and the arrangement of its legs. Accurate anatomical representation is key to a successful sketch, as it provides the foundation upon which all other details are built. Familiarize yourself with the different parts of a spider, their proportions, and how they connect. By understanding the underlying structure, you’ll be better equipped to depict the spider’s form realistically.
The Body Structure
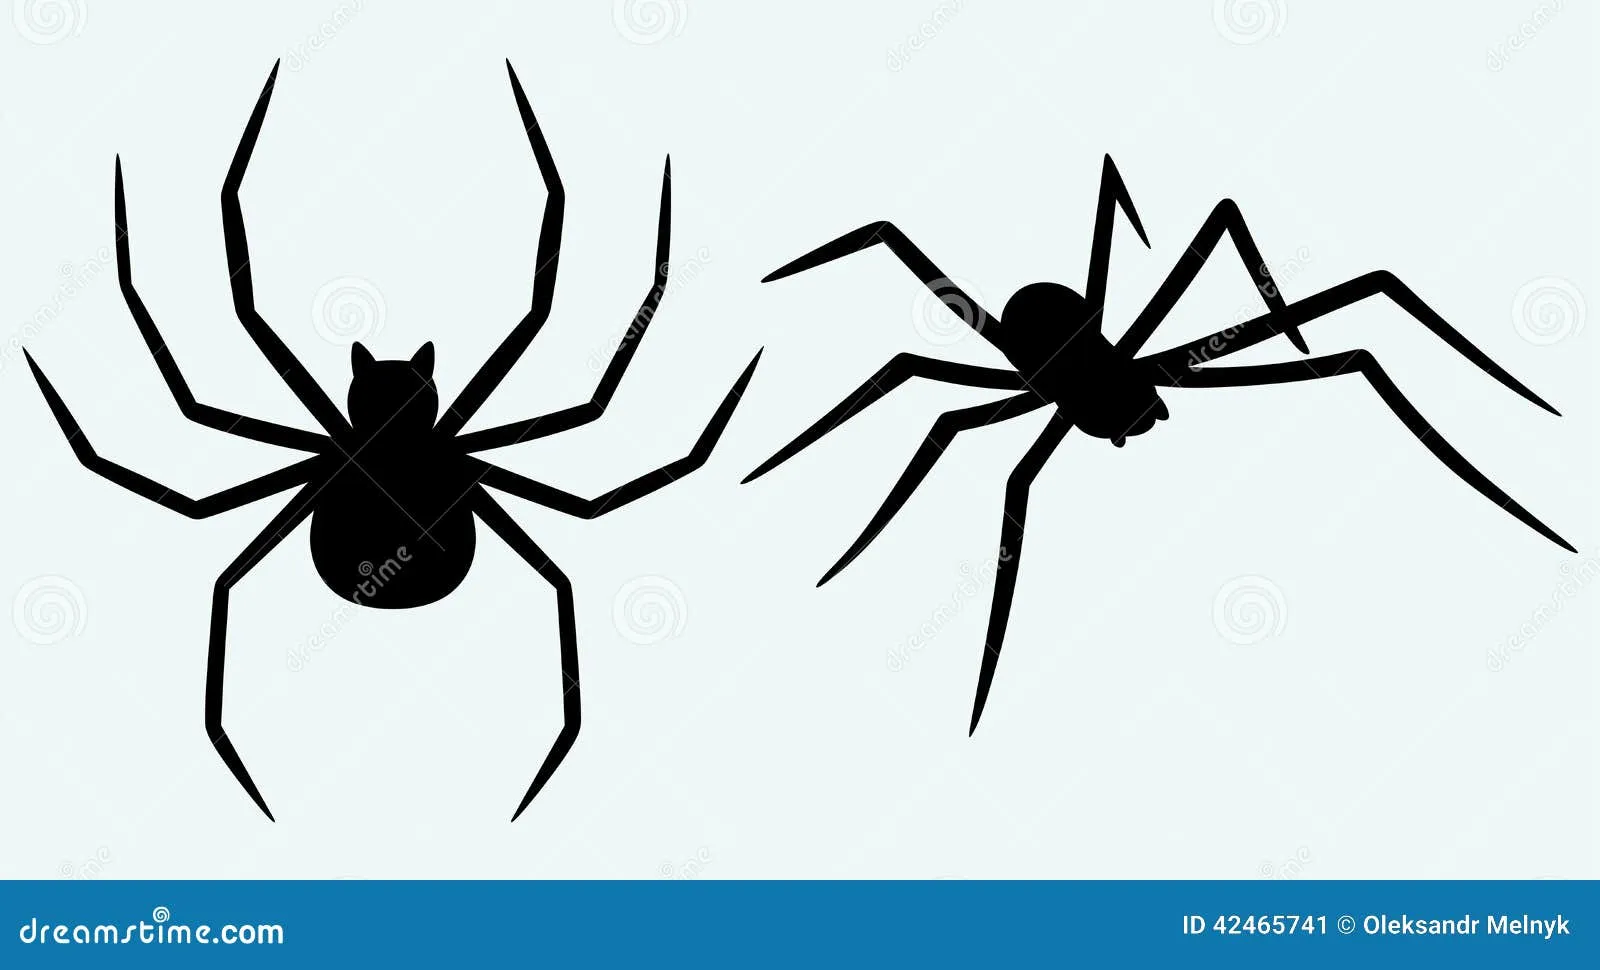
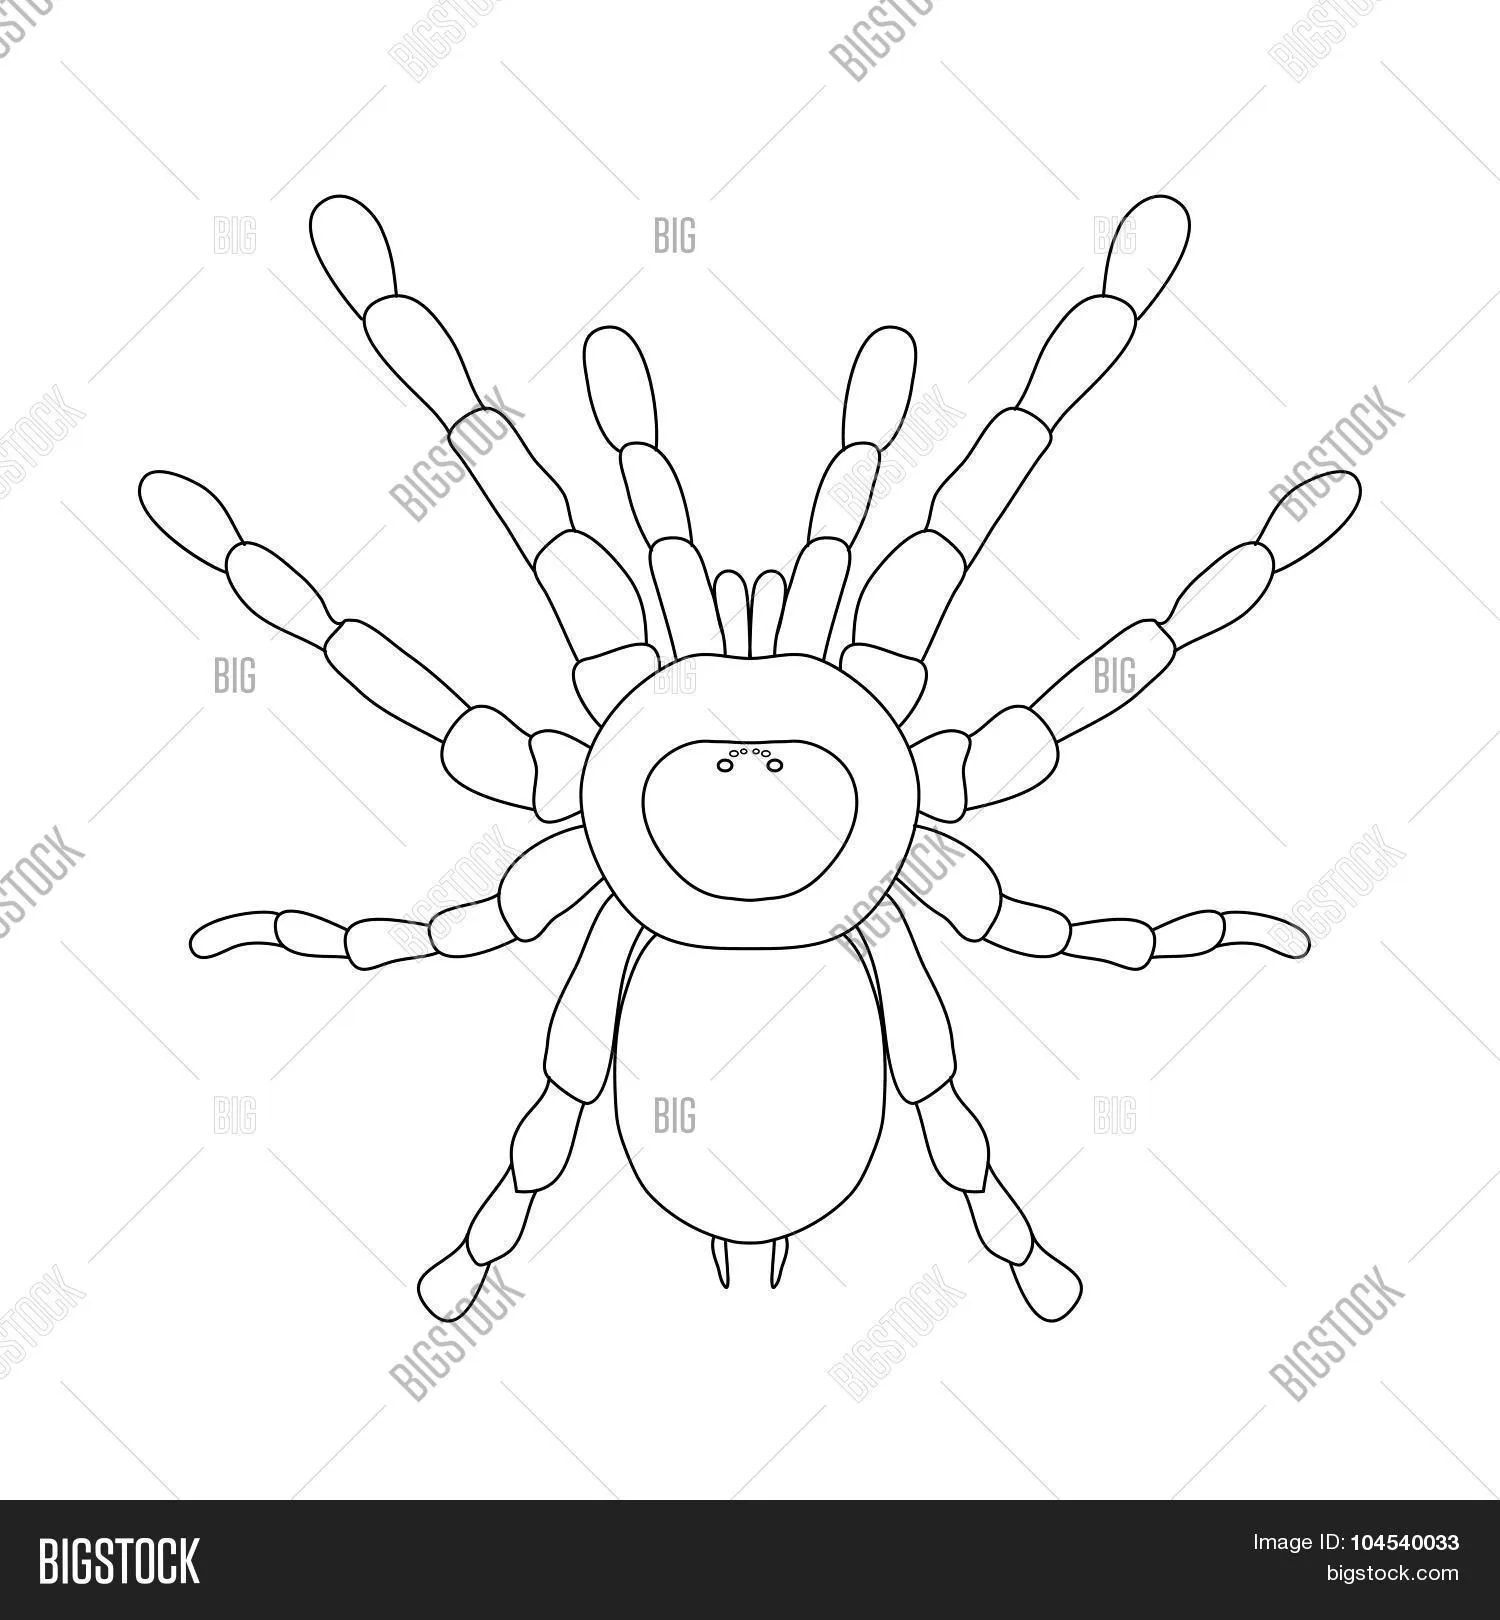
The spider tarantula’s body consists of two main parts the cephalothorax (fused head and thorax) and the abdomen. The cephalothorax is generally the larger of the two, housing the spider’s eyes, mouthparts, and legs. The abdomen, connected to the cephalothorax by a narrow pedicel, is typically rounded and contains the spider’s internal organs. When sketching, pay attention to the relative sizes and shapes of these two parts and how they connect. Consider the texture of the exoskeleton, which can vary across different species. The cephalothorax might have a smooth or slightly textured surface, while the abdomen can have intricate patterns or hairs.
The Legs and Their Arrangement
Spider tarantulas have eight legs, each segmented and ending in claws that aid in climbing and gripping. The legs are attached to the cephalothorax and are arranged in pairs. Note how the legs extend outwards, often with a slight bend, and how they support the spider’s weight. The position and posture of the legs contribute significantly to the spider’s overall appearance. Pay close attention to the way the legs are positioned, whether the spider is at rest, moving, or hunting. Accurate representation of the leg arrangement is vital for creating a sense of realism and capturing the spider’s unique characteristics. Observe the length, thickness, and articulation of the legs as these details significantly impact the realism of your sketch.
Tip 2: Gathering Reference Materials
Before you begin sketching, it is essential to gather appropriate reference materials. These materials will serve as your visual guide, helping you to accurately depict the spider tarantula’s form, details, and textures. The more references you have, the better equipped you’ll be to create a detailed and realistic drawing. The type of reference materials you choose can significantly influence the quality of your artwork. Using reliable references will allow you to capture the essence of the subject and ensure that your drawing is both informative and visually appealing.
Finding the Right Photos
High-quality photographs are indispensable for sketching a spider tarantula. Look for images that are clear, well-lit, and show the spider from various angles. Macro photography is particularly helpful, as it reveals the fine details of the spider’s body, such as the hairs, eyes, and mouthparts. When selecting photographs, consider the lighting conditions and how they affect the shadows and highlights on the spider’s body. Choose images that provide a good balance of light and shadow, as this will help you to create depth and dimension in your sketch. Ensure that the photos capture the spider’s characteristic features, such as its leg arrangement, body shape, and any unique markings or patterns.
Using Multiple References
Using multiple reference images is highly recommended. This allows you to gain a more comprehensive understanding of the spider tarantula’s anatomy and appearance. Different photographs may highlight different aspects of the spider, such as its posture, texture, or coloration. By combining information from several sources, you can create a more accurate and detailed drawing. When using multiple references, compare and contrast the images to identify the most accurate and consistent features. This approach ensures that your sketch is not only realistic but also captures the true essence of the spider tarantula. It helps to avoid relying on a single perspective, thus promoting a more well-rounded and informed artistic outcome.
Tip 3: Basic Sketching Techniques
Before diving into the details, master some fundamental sketching techniques to lay a solid foundation for your drawing. These techniques will help you to accurately represent the spider tarantula’s form, proportions, and overall structure. Sketching techniques will influence the quality of your artwork. Starting with light lines, understanding the use of basic shapes, and learning how to accurately measure and transfer proportions are crucial skills to develop. Proper sketching techniques will ensure that your final drawing is both visually appealing and anatomically correct, allowing you to successfully capture the unique features of the spider tarantula.
Light and Shadow
Understanding light and shadow is crucial for creating depth and dimension in your sketch. Observe how light interacts with the spider’s body, creating highlights where the light hits and shadows where it doesn’t. Identify the main light source and how it casts shadows on the spider’s form. Begin by lightly sketching the basic shapes and then use shading techniques to define the areas of light and shadow. Vary the pressure of your pencil to create different values, from light to dark. This will help to give your sketch a three-dimensional appearance. Proper use of light and shadow will make your spider tarantula appear more realistic and visually engaging.
Tip 4: Detailing the Spider Tarantula Sketch
Once you’ve established the basic structure and form, it’s time to add the details that will bring your spider tarantula sketch to life. This includes the intricate patterns on the body, the texture of the exoskeleton, and the various features that make each tarantula unique. The level of detail in your sketch will significantly impact the realism and visual interest of your artwork. Paying close attention to these details can transform a simple sketch into a captivating representation of a spider tarantula. Careful observation and skillful execution of details will enhance the overall appeal of your drawing, making it more captivating and realistic.
Adding the Hairs
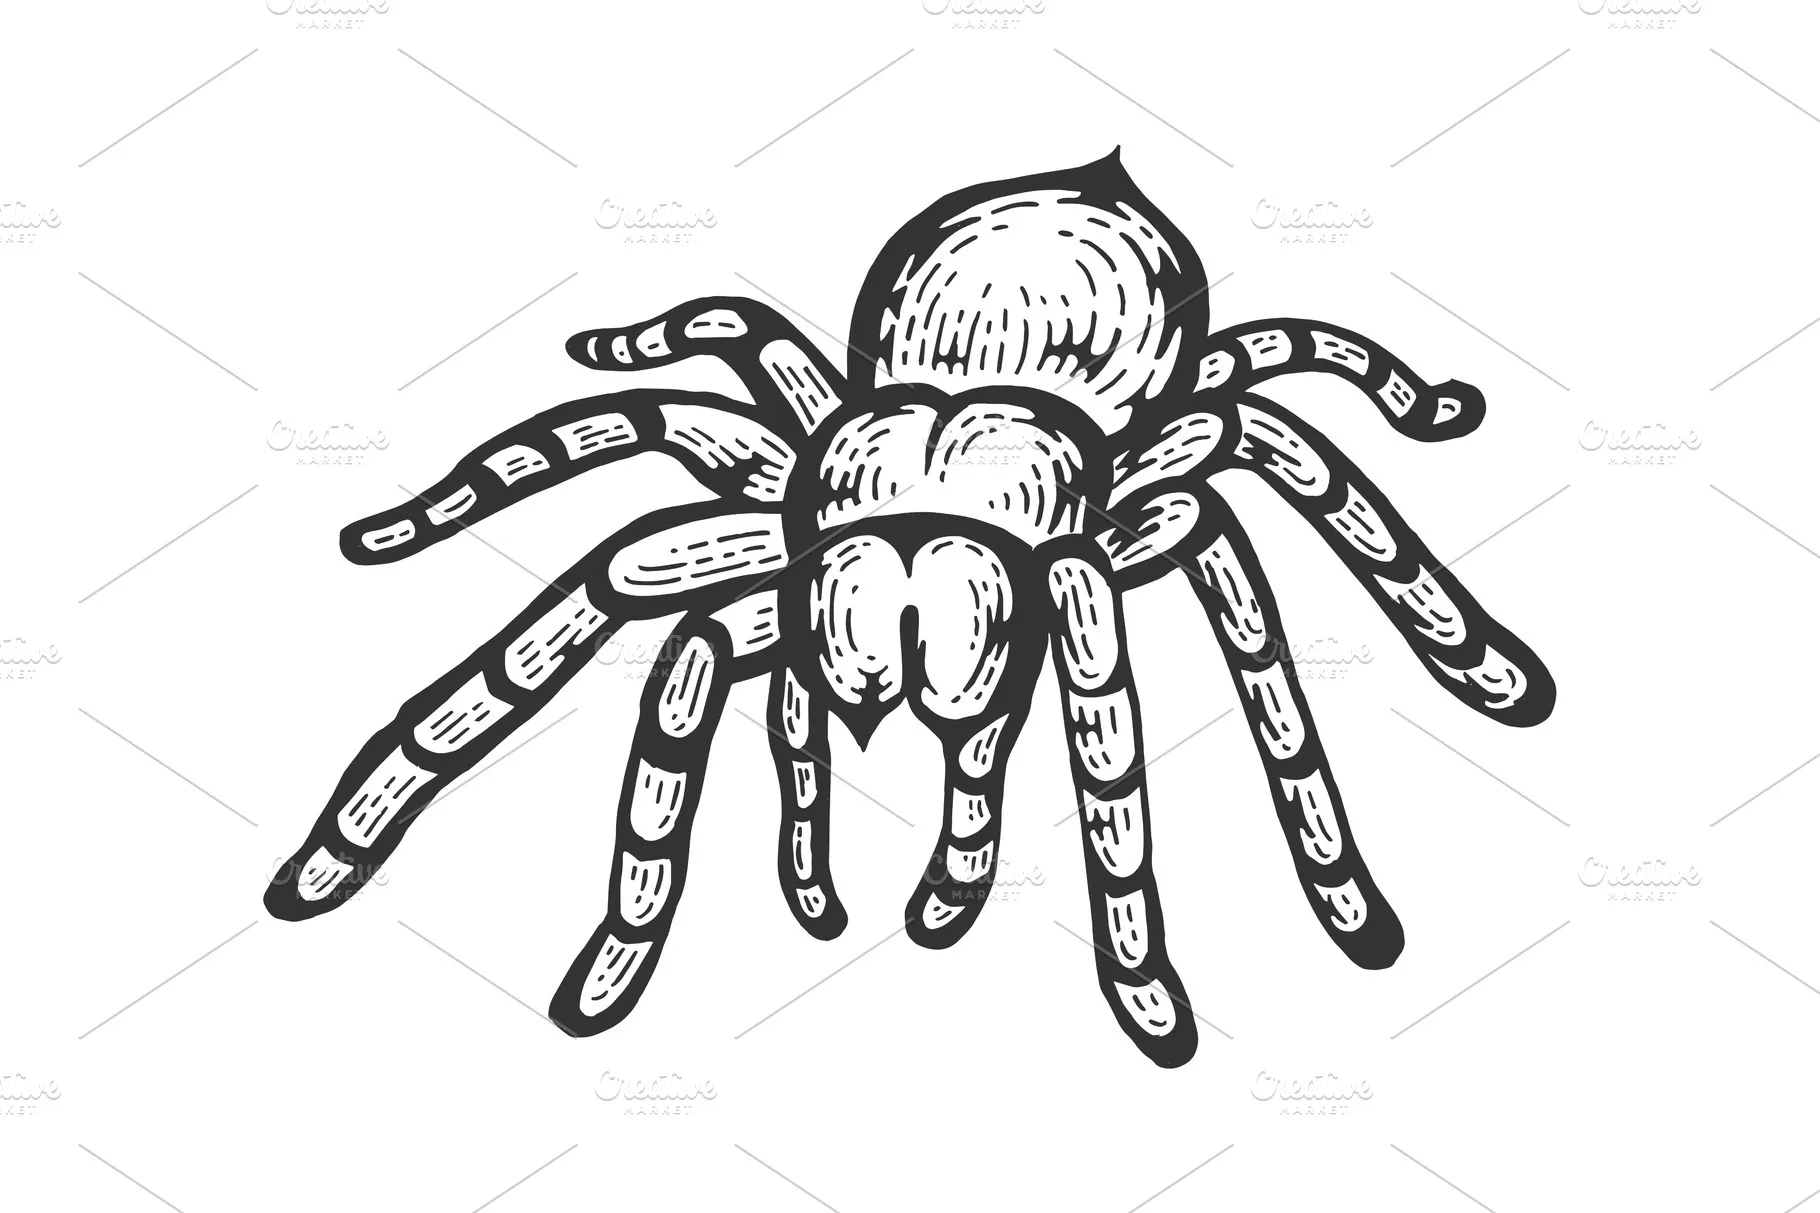
Spider tarantulas are covered in hairs, which play a role in their sensory perception and appearance. Adding these hairs can significantly enhance the realism of your sketch. Use a fine-tipped pencil to create individual hairs, varying their length and direction to mimic the natural texture of the tarantula. Observe the distribution of the hairs on different parts of the body, noting their density and pattern. Consider how the hairs catch the light, creating subtle highlights and shadows. For a more detailed effect, use a lighter pencil to create the initial layer of hairs and then go over them with a slightly darker pencil to add depth and contrast. This technique will make your spider tarantula sketch appear more textured and lifelike.
Tip 5: Utilizing Different Shading Methods
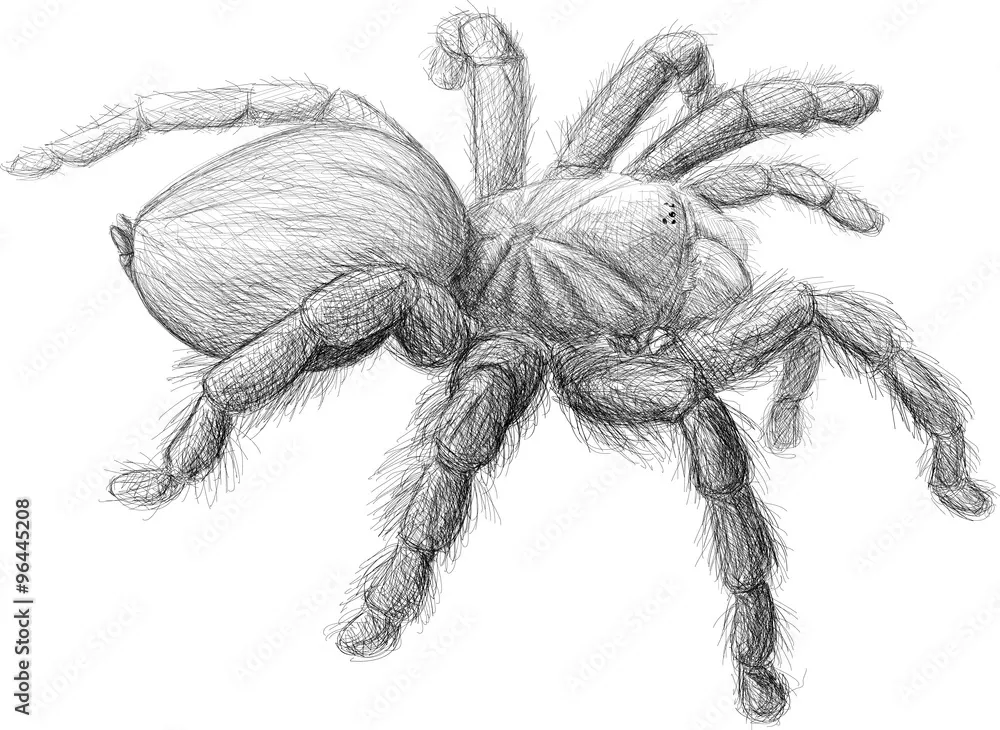
Mastering various shading methods is essential for creating depth, dimension, and a sense of realism in your spider tarantula sketch. Shading techniques not only add visual interest but also help to define the form and texture of the spider. Experimenting with different techniques can significantly improve the overall quality of your artwork. The techniques you choose will influence the final look and feel of your drawing, from smooth gradients to textured surfaces. By practicing and refining your shading skills, you’ll be able to effectively capture the intricate details and unique characteristics of the spider tarantula.
Cross-Hatching Techniques
Cross-hatching involves creating layers of intersecting lines to build up value and create shadows. This technique is effective for adding texture and depth to your sketch. Start by applying a layer of parallel lines, and then overlap them with another layer of lines at a different angle. The closer the lines and the more layers you add, the darker the area will appear. Vary the density and direction of the lines to create different textures and effects. Cross-hatching is particularly useful for representing the rough texture of the tarantula’s exoskeleton. Practice controlling the pressure and spacing of your lines to achieve the desired shading effects.
Blending with Tools
Blending with tools such as blending stumps, tortillions, or even your finger can create smooth transitions between tones and add a soft, realistic quality to your sketch. After applying your shading, use the blending tool to gently smooth out the pencil marks. This technique is particularly useful for creating gradients and softening harsh lines. Be careful not to over-blend, as this can make your sketch look muddy. Start with a light touch and gradually build up the shading. Blending allows you to achieve a range of tonal values and create a more refined and polished look. Using blending tools helps to create soft shadows and highlights, making the spider tarantula appear more three-dimensional and realistic.
Tip 6: Choosing the Right Drawing Tools
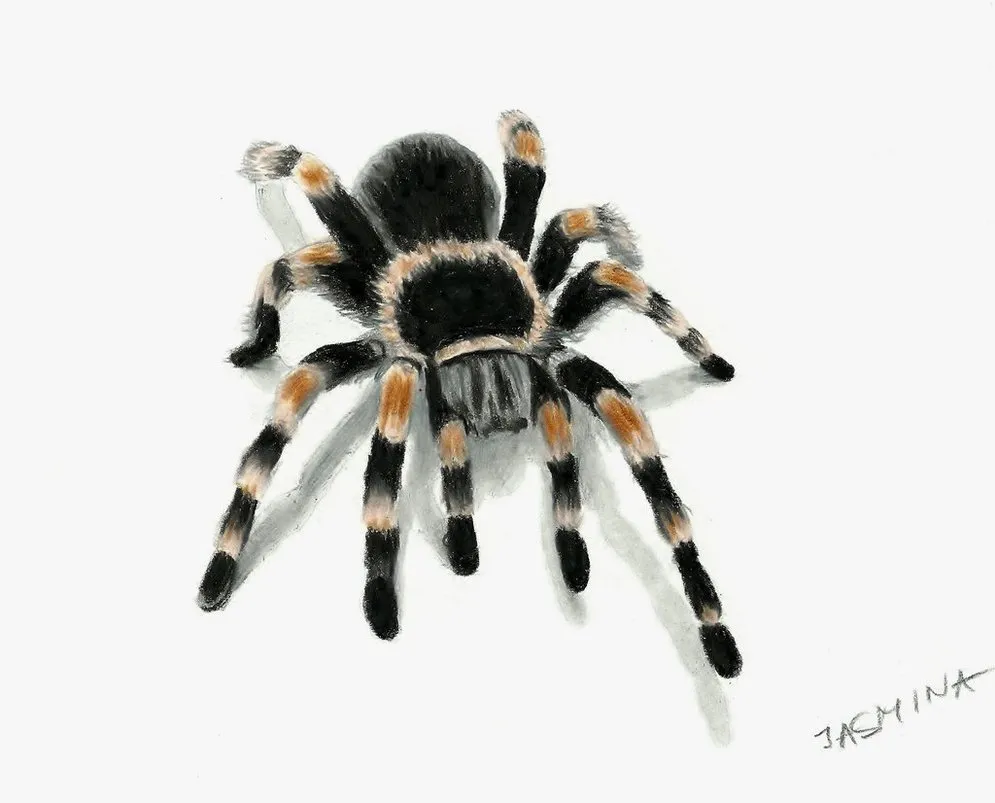
Selecting the appropriate drawing tools is fundamental to the quality and effectiveness of your spider tarantula sketch. The right tools will not only make the drawing process easier but also help you to achieve the desired effects and details in your artwork. The pencils, paper, and other materials you use will have a direct impact on your final result. Experimenting with various tools and finding what best suits your style is a key step in developing your artistic skills. The type of drawing tools you choose can significantly impact the outcome of your sketch, influencing texture, detail, and overall aesthetics. So, consider your preferences and needs, and select the tools that align with your artistic goals.
Pencils and Their Grades
Pencils are graded based on their hardness and darkness, which affects the shading and detailing you can achieve. A range of pencils, from very hard (9H) to very soft (9B), is recommended. Harder pencils (H grades) are useful for creating light lines and detailed work, while softer pencils (B grades) are better for shading and creating dark tones. Experiment with different grades to see how they affect your sketch. A combination of pencil grades will allow you to create a variety of tones and textures, bringing depth and realism to your drawing. Consider using a HB or F pencil for the initial sketch, a 2B or 4B for shading, and a 6B or 8B for the darkest areas. The selection of pencil grades can greatly influence the appearance and detail of your sketch, enhancing the overall outcome of your artwork.
Paper Selection
The type of paper you use can significantly impact the final appearance of your sketch. Choose paper that is specifically designed for drawing, with a weight of at least 70-80 lb. Smooth paper is ideal for detailed work, while textured paper is better for creating a rougher appearance. Consider the paper’s surface and how it interacts with your pencils. Experiment with different types of paper to discover what best suits your style. The paper’s surface texture and weight will affect how the pencil lines appear, the ease of blending, and the overall look of your drawing. Select paper that supports your artistic goals. High-quality paper will withstand the pressure of your pencil strokes, allowing for better detail and shading, ensuring that your spider tarantula sketch turns out beautifully.
Tip 7: Practicing and Refining Your Skills
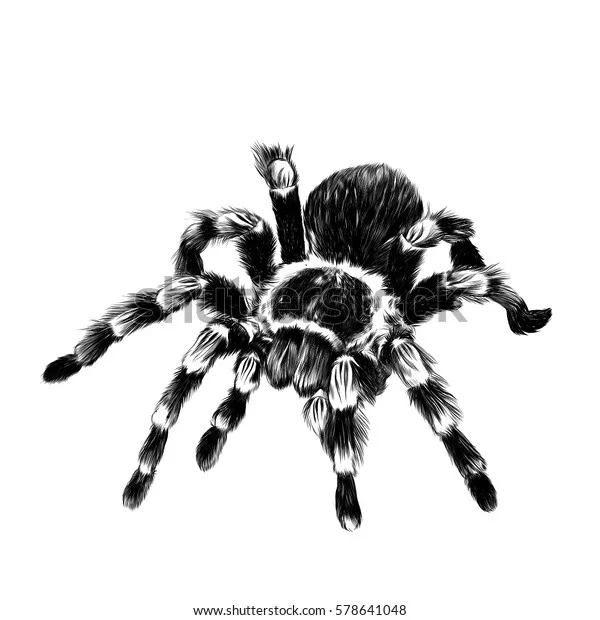
Practice is essential for improving your sketching skills. The more you sketch, the better you’ll become at capturing the details and nuances of your subject. Regular practice allows you to experiment with different techniques, tools, and styles. You will be refining your skills, improving your technique, and developing your artistic vision. Consistent practice is key to improving your drawing skills and creating captivating spider tarantula sketches. Sketching regularly is important for building confidence and refining your technique. By dedicating time to practice, you’ll enhance your skills, develop a unique artistic style, and achieve a higher level of proficiency in your drawings.
Consistent Practice
Set aside time for regular practice. Even short sessions can make a significant difference over time. Try sketching a spider tarantula for at least 30 minutes each day or several times a week. Focus on specific aspects of your drawing, such as anatomy, shading, or detailing. Break down the process into manageable steps to avoid feeling overwhelmed. During practice sessions, experiment with different techniques and tools, allowing yourself to make mistakes and learn from them. Consistency is key to developing your skills and making noticeable progress. The more you practice, the more comfortable you’ll become with the techniques, and the more confident you’ll feel in your ability to create detailed and lifelike spider tarantula sketches.
Seeking Feedback
Seek feedback from other artists or experienced drawers. Ask them to critique your work, pointing out areas where you can improve. Don’t be afraid to show your sketches to others and welcome constructive criticism. Feedback can provide valuable insights and help you to see your work from a different perspective. Share your sketches online or with local art groups to get feedback. Review the feedback and use it to refine your technique and improve your sketches. Constructive criticism is an excellent learning tool, helping you identify areas of improvement and accelerate your progress. By embracing feedback, you can enhance your skills and develop a more well-rounded artistic approach, resulting in more detailed and compelling spider tarantula sketches.
Conclusion
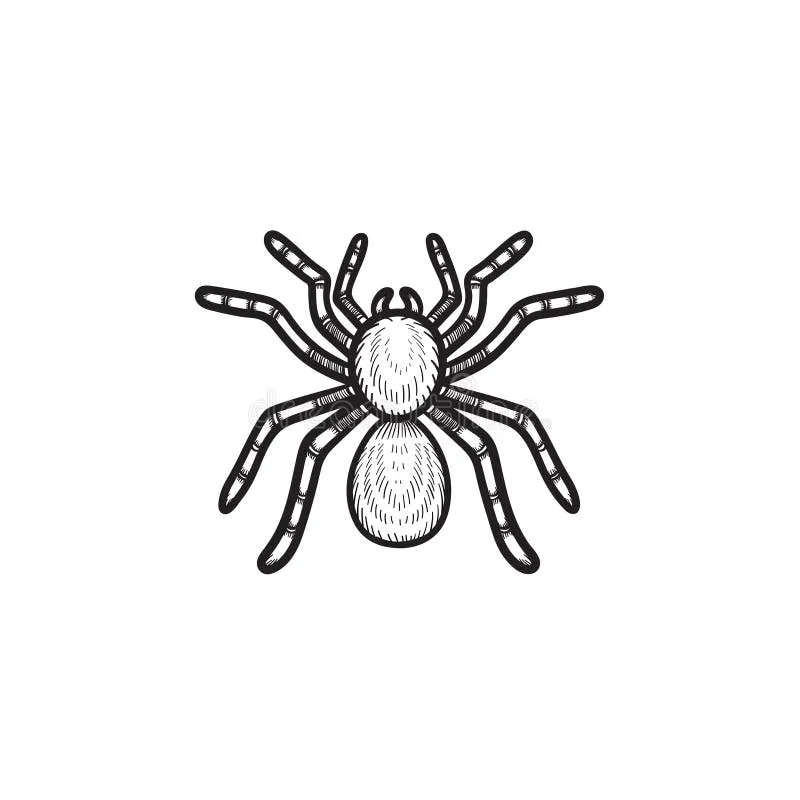
Creating a detailed spider tarantula sketch is a rewarding experience. By following these seven tips, you can improve your drawing skills and produce stunning representations of these fascinating creatures. Remember to study the anatomy, gather high-quality references, and master fundamental techniques. Practice regularly, experiment with shading methods, and choose the right tools. Embrace feedback and refine your approach. With dedication and persistence, you’ll be able to create captivating spider tarantula sketches that showcase your artistic abilities. Each sketch will be a testament to your growth as an artist and the beauty of the spider tarantula. Continue to explore, experiment, and challenge yourself to unlock your full potential, resulting in artwork that reflects your unique artistic vision.
