The Tevo Tarantula Prusa i3 is a popular and affordable 3D printer, often lauded as a great entry point for those new to the world of additive manufacturing. This beginner’s guide will walk you through everything you need to know to get started, from understanding its features to troubleshooting common issues and performing routine maintenance. Whether you are a hobbyist, a student, or simply curious about 3D printing, this guide will help you unlock the potential of your Tevo Tarantula Prusa i3 and create amazing 3D printed objects. Get ready to embark on an exciting journey into the world of 3D printing!
Tevo Tarantula Prusa i3 Overview
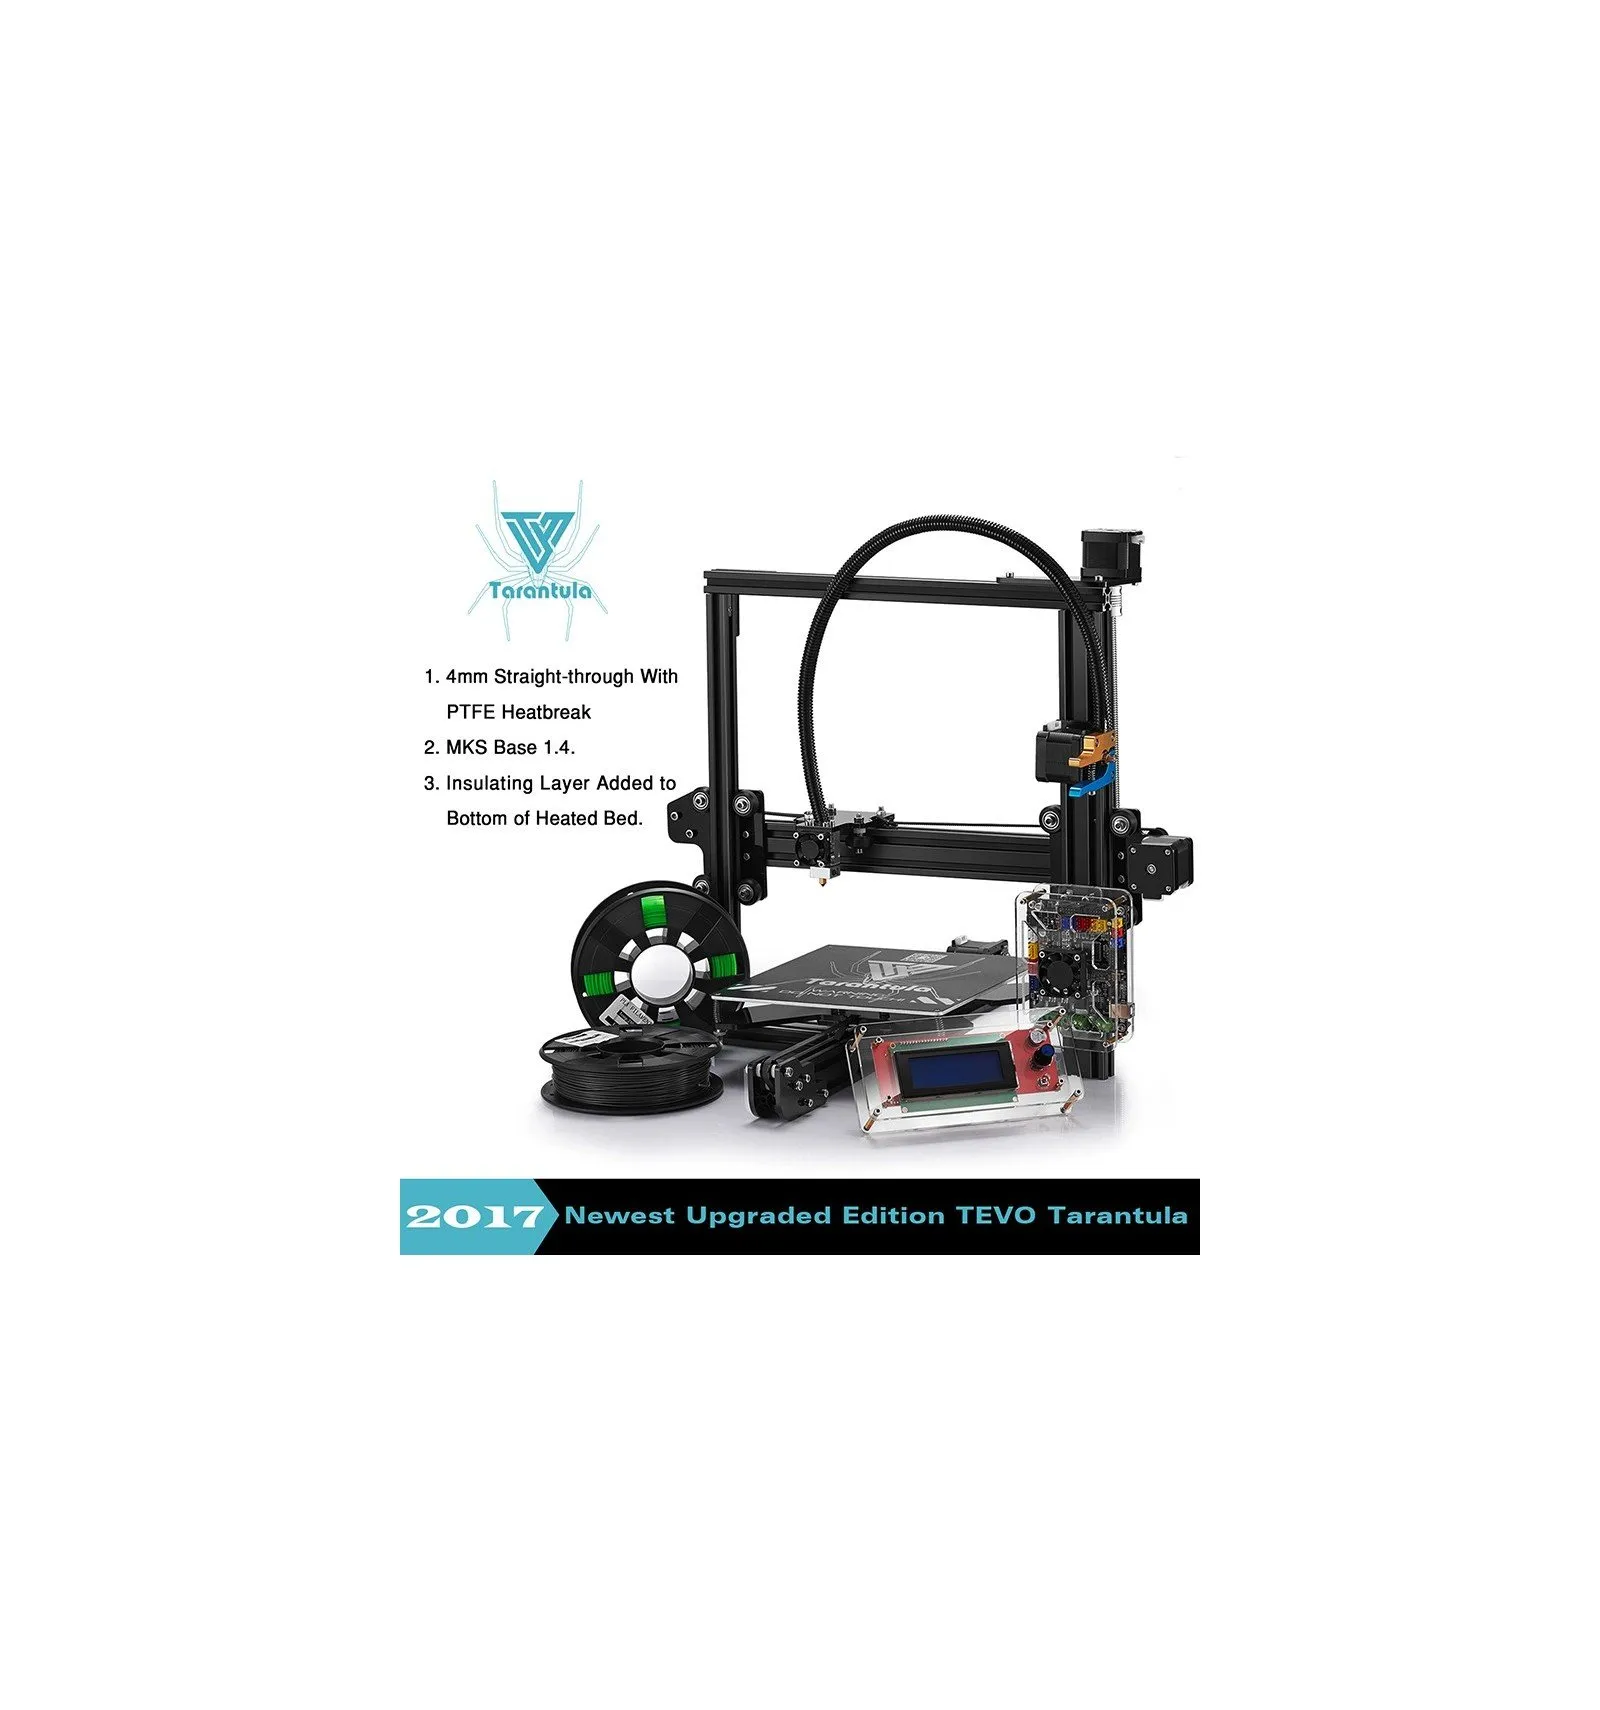
The Tevo Tarantula Prusa i3 is a desktop 3D printer that is known for its affordability and ease of assembly. It is based on the open-source Prusa i3 design, which is a well-established and widely used 3D printer design. It typically comes as a kit that requires assembly, making it a hands-on experience for users. The printer features a heated bed, allowing it to print with a wide range of materials, including PLA, ABS, PETG, and more. Its relatively large build volume makes it suitable for a variety of projects, from small prototypes to larger functional parts. It’s a great printer for learning the fundamentals of 3D printing because of its straightforward design.
Key Features and Specifications
Understanding the key features and specifications of your Tevo Tarantula Prusa i3 is essential for optimal performance. Key features usually include a heated bed, which is crucial for printing with materials like ABS that require a heated environment. The build volume, typically around 200x200x200 mm, defines the maximum size of your printed objects. The printer often uses a Bowden extruder, where the filament is pushed through a tube to the hot end. The supported filament diameters are usually 1.75 mm. The print bed surface material can vary, but it is often a glass or a similar material. It has a sturdy frame made from aluminum profiles, providing stability during printing. The printer also features an LCD screen for easy control and monitoring of print jobs. It’s crucial to check the specific specifications of your model, as they can vary slightly.
Assembly of Tevo Tarantula Prusa i3

Tools and Materials Needed
Before you start assembling your Tevo Tarantula Prusa i3, gather all the necessary tools and materials. The kit should include most of the parts, but it is a good idea to have the following: a set of Allen wrenches (metric), a Phillips head screwdriver, a pair of pliers, wire cutters, a ruler or measuring tape, and a level. You may also need some zip ties to manage the cables, and some lubricant, such as grease or oil, for moving parts. Make sure to have a clean, well-lit workspace. It’s also helpful to have a copy of the assembly manual readily available, either in print or digital form. Having all of these items ready will make the assembly process much smoother.
Step-by-Step Assembly Guide
Assembling the Tevo Tarantula Prusa i3 can seem daunting, but following the instructions step-by-step makes it manageable. Begin by assembling the frame, carefully connecting the aluminum profiles according to the manual. Next, install the heated bed, making sure it is level. Attach the Z-axis components, ensuring smooth movement. Then, mount the X and Y axis components. Install the extruder and hot end. Connect the electronics, including the motors, end stops, and control board. Wire the power supply correctly and connect the LCD screen. Double-check all connections. Finally, test the printer by moving the axes and heating up the bed and nozzle. Take your time, and don’t hesitate to consult online resources or videos if you get stuck. Assembly may take several hours, so be patient.
Initial Setup and Calibration

Bed Leveling Techniques
Bed leveling is one of the most critical steps for successful 3D printing. If your bed is not level, the first layer of your print will not adhere properly, which can lead to warping or detachment of the print. There are several methods for bed leveling, including manual leveling and auto-bed leveling. With manual leveling, you adjust the height of the bed at each corner using the leveling screws until the nozzle is the correct distance from the bed. This distance can be checked with a piece of paper. Auto-bed leveling uses a sensor to measure the bed surface and adjust the Z-axis accordingly. Follow the instructions in your manual to perform either method, and repeat the process periodically.
Extruder Calibration
Extruder calibration is essential to ensure that your printer extrudes the correct amount of filament. An improperly calibrated extruder can result in under-extrusion or over-extrusion, which will affect the quality of your prints. To calibrate the extruder, you will need to measure the amount of filament the extruder is supposed to push through and then measure the actual amount. This is usually done by marking a specific length of filament and instructing the printer to extrude that length. If the actual amount extruded is different, you will need to adjust the E-steps setting in your printer’s firmware. The E-steps setting determines how many steps the extruder motor makes for each millimeter of filament extruded. It is necessary to consult online guides for detailed instructions on how to adjust this setting.
Slicing Software for Tevo Tarantula Prusa i3

Recommended Slicer Settings
Slicing software converts your 3D models into instructions (G-code) that your printer can understand. There are several excellent slicing options available, with Cura and PrusaSlicer being popular choices. Key settings to consider include: layer height (thinner layers for higher detail), print speed (adjust according to the filament), infill density (for strength), nozzle temperature (specific to the filament), bed temperature (for adhesion), and support settings (for complex geometries). Experiment with these settings to optimize your prints for quality and speed. Refer to online communities and forums for specific recommendations for your filament and printer combination.
Common Filament Types
PLA

PLA (Polylactic Acid) is a widely used filament, especially for beginners. It is easy to print with, has low warping, and is made from renewable resources. PLA requires lower printing temperatures (around 190-220°C) and does not require a heated bed, though it can be beneficial. It comes in a wide range of colors and is ideal for prototypes, decorative items, and educational projects. However, PLA is not very heat resistant and can become soft in hot environments. For example, it’s a good option for toys and display models. Storage should be in a cool, dry place, away from direct sunlight. PLA is a versatile material for general use, with good detail.
ABS
ABS (Acrylonitrile Butadiene Styrene) is a durable plastic known for its impact resistance and heat resistance. It is often used for functional parts and is commonly used in manufacturing. ABS requires a higher printing temperature (around 220-250°C) and a heated bed (around 80-110°C) to prevent warping. Printing with ABS can be more challenging than PLA due to the potential for warping and fumes, so a well-ventilated area is recommended. It is ideal for parts that need to withstand stress, heat, or physical impact, like RC car parts or phone cases. Enclosures are often recommended for ABS printing to maintain a stable temperature and reduce warping.
PETG
PETG (Polyethylene Terephthalate Glycol-modified) combines the best properties of both PLA and ABS. It’s easy to print like PLA, with minimal warping, and it has good strength and durability like ABS. PETG usually requires a printing temperature between 220-250°C, and a heated bed (around 70-80°C). PETG is a versatile material suitable for a wide range of applications, including functional parts, mechanical components, and food-safe applications. It adheres well to print beds, and produces parts with good surface finish. PETG is a good choice for beginners who want a material that is both easy to print and durable. PETG is generally considered food safe, but be sure to check the specific filament’s properties.
Troubleshooting Common Issues

Nozzle Clogging
Nozzle clogging is a common problem that can disrupt your prints. Several factors can cause a clog, including incorrect printing temperature, impurities in the filament, or simply prolonged use. Symptoms include a lack of filament extrusion or inconsistent extrusion. To address a clog, try these steps: Increase the nozzle temperature slightly to see if it melts the clog. Use a thin needle or the provided cleaning tool to push through the nozzle. Perform a ‘cold pull’ by heating the nozzle, extruding some filament, and then cooling it down to pull out any debris. In severe cases, you may need to disassemble the hot end and clean it manually. Maintaining a clean nozzle is essential for print quality.
Bed Adhesion Problems
Poor bed adhesion is another common issue, where the print does not stick to the bed surface. This leads to warping, detachment, and failed prints. Common causes include an uneven bed, incorrect bed temperature, or a dirty bed surface. To improve bed adhesion: Level your bed properly, ensuring the nozzle is the correct distance from the bed. Clean the bed surface with isopropyl alcohol to remove any oils or debris. Use adhesion aids, such as glue stick, hairspray, or painter’s tape (for PLA). Increase the bed temperature slightly. Consider using a brim or raft in your slicer settings, which provide a larger base for the print to adhere.
Print Quality Issues

Print quality issues can manifest in various ways, from layer separation to stringing and blobs. Many factors influence print quality, including temperature settings, print speed, and the quality of the filament. If you experience layer separation, try increasing the nozzle temperature. If you notice stringing or blobs, reduce the printing temperature or adjust the retraction settings in your slicer. Ensure your printer belts are properly tensioned. Slowing down your print speed can also improve quality. Fine-tuning your printer settings through trial and error is often necessary to achieve the best print quality for your specific setup.
Maintenance and Upgrades
Regular Maintenance Tasks
Regular maintenance will help to keep your Tevo Tarantula Prusa i3 running smoothly. Some key maintenance tasks include: Cleaning the bed surface before each print. Lubricating the moving parts, such as the Z-axis rods, with grease or oil. Checking and tightening belts. Inspecting the nozzle for wear and tear. Cleaning the hot end and extruder regularly. Occasionally, you may need to replace the nozzle or other worn-out parts. Regularly check the condition of the printer and make necessary adjustments or repairs. Following a maintenance schedule ensures longevity and consistent print quality.
Upgrades for Enhanced Performance
As you become more experienced with your Tevo Tarantula Prusa i3, you may consider upgrades to improve its performance. Some popular upgrades include: Upgrading the hot end for better temperature control and the ability to print with a wider range of filaments. Installing a glass bed or other bed surface material for improved adhesion and flatness. Adding a BLTouch sensor or other auto-bed leveling system for easier and more accurate bed leveling. Upgrading the control board for quieter operation and improved features, like Wi-Fi connectivity. Installing a direct drive extruder for better control over filament extrusion. These upgrades can enhance print quality, reduce print failures, and expand your 3D printing capabilities.
This guide has provided a comprehensive overview of the Tevo Tarantula Prusa i3, covering everything from assembly and calibration to troubleshooting and maintenance. By understanding the key features, following assembly instructions carefully, and experimenting with slicer settings, you can unlock the full potential of your 3D printer. Remember that practice and patience are key. Don’t be afraid to experiment with different filaments and settings to achieve the best results. With dedication, you will master 3D printing and create amazing projects. Happy printing!